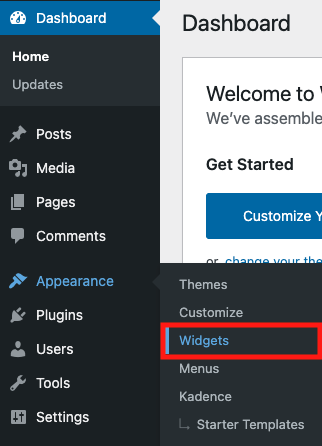
To customise the blog post sidebar, navigate to the WordPress dashboard and hover over “Appearance” in the menu on the left hand side. Click on “Widgets”.
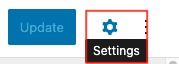
Once loaded, click on the “Settings” cog in the top right hand corner.
Editing Headings
Select the heading you would like to edit. On the right hand side you will see different customization options:
Change the size of the heading:

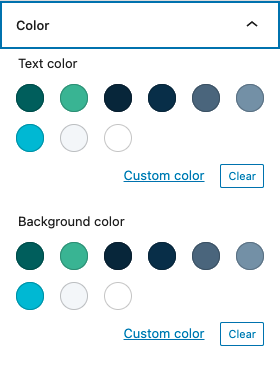
Change the color of the heading:
Changing Image in the Sidebar
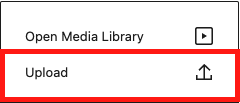
Click on the image you would like to change. A customisation menu should pop up above the image. Click on “Replace” and then “Upload”. Choose and upload chosen image.

Changing Position of the Sidebar
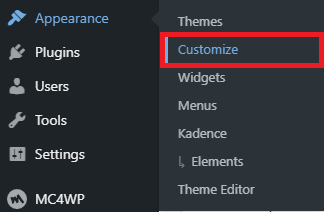
If you’d prefer to have the sidebar on the left hand side instead of the right hand side of your blog posts, navigate to the WordPress dashboard and hover over “Appearance” in the menu on the left hand side. Click on “Customize”.
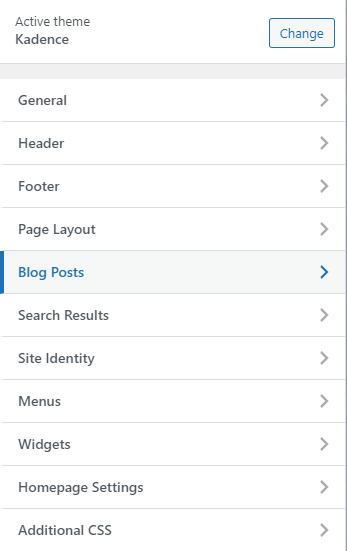
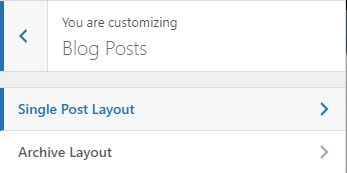
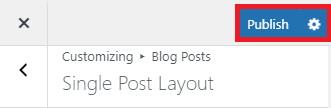
A menu on the left hand side of the page will pop up once loaded. Find and click on “Blog Posts” and then “Single Post Layout”.
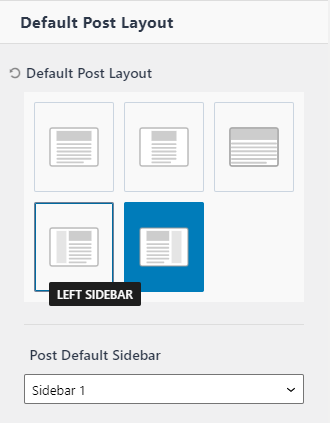
Scroll down to “Default Post Layout” and select “Left Sidebar”.
Make sure to save your changes by clicking on “Publish” at the top of the menu.
Removing the Sidebar
If you would like to remove the sidebar from your blog posts entirely, navigate to the WordPress dashboard and hover over “Appearance” in the menu on the left hand side. Click on “Customize”.
A menu on the left hand side of the page will pop up once loaded. Find and click on “Blog Posts” and then “Single Post Layout”.
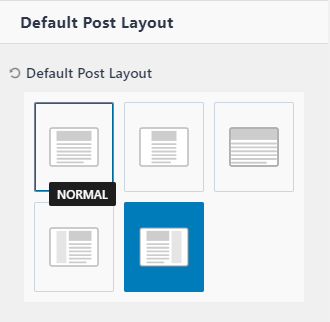
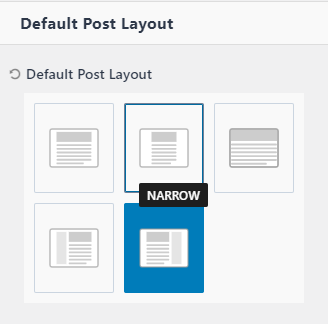
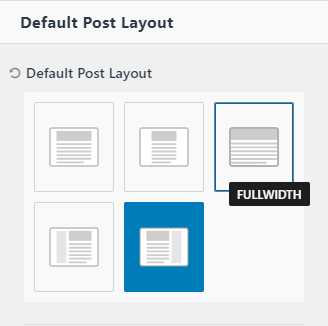
Scroll down to “Default Post Layout” and select either “Normal”, “Narrow” or “Fullwidth”, depending on how you would like the content of your blog posts displayed.
Make sure to save your changes by clicking on “Publish” at the top of the menu.