Having a user-friendly website is very important. One of the ways to achieve this is by having a website that loads quickly.
Resizing your images is the easiest way to improve the speed of the website.
There are two reasons an image file size may be large:
- The dimensions (also called pixels) of the image are too high
- The quality in the image is too high
You want to have an image that is big enough to look sharp on your website, but small enough that it loads very quickly.
I recommend having your images between 50Kb and 150Kb for larger images. For tiny images like a logo or icon image file sizes can be as small as 5Kb or less and still look good.
To resize your images you can use BeFunky, a free online tool.
- Create and account and log in.
- Resize your images like this:
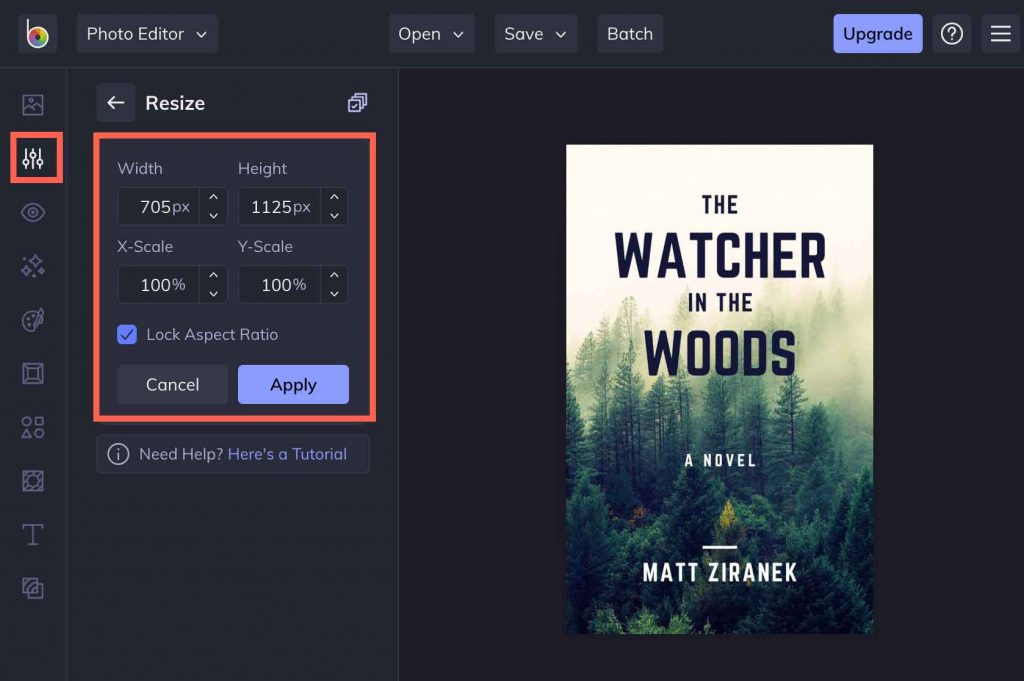
You’ll almost never want an image that has either a height or a width px size above 1800.
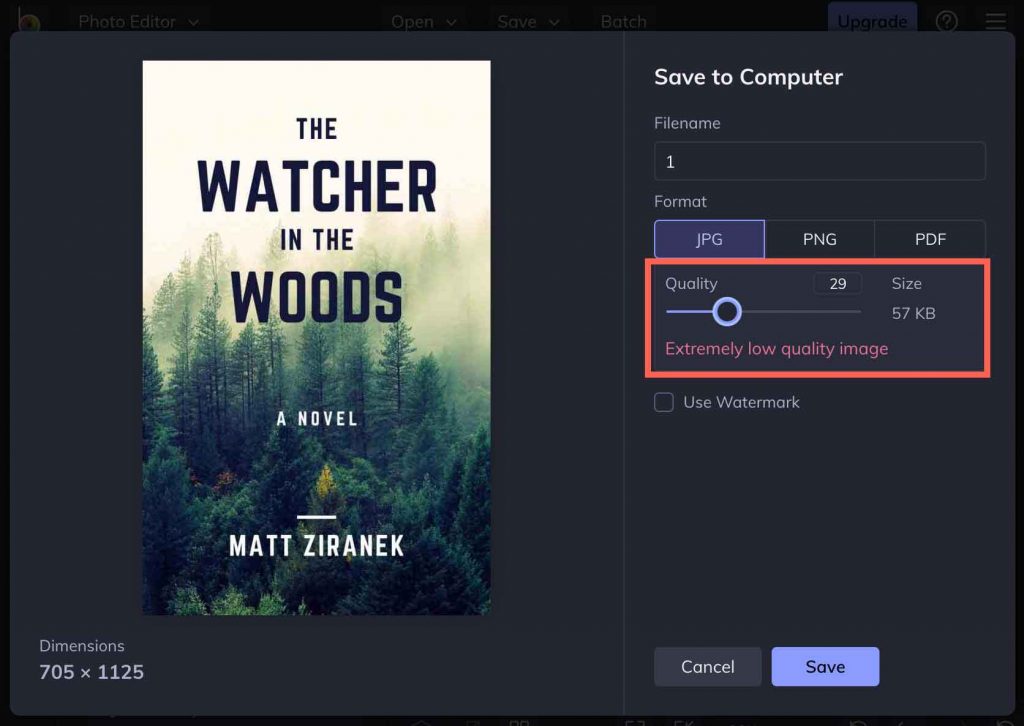
- When you save your images, make sure the quality is lower.
If you have an image with a transparent part of it (called a PNG) there is a useful website you can use to to resize your images at no cost called TinyPNG.
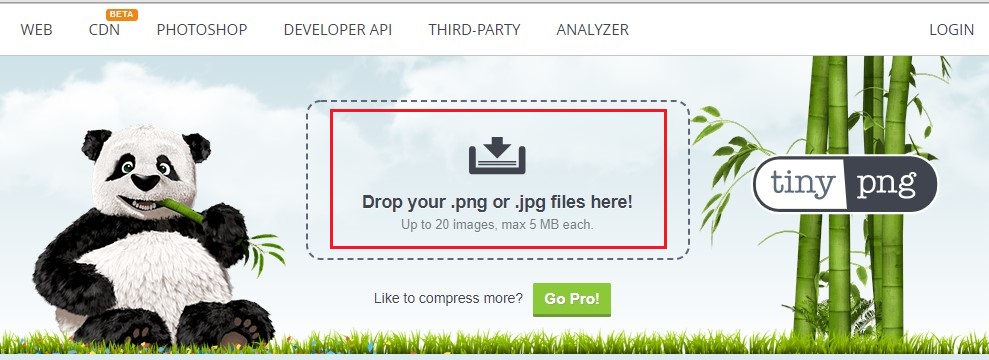
- Drop/Upload your .png or .jpg file on TinyPNG and it will automatically resize it for you.
Once the image size is reduced save the image by clicking on “download” (where the red arrow is pointing)
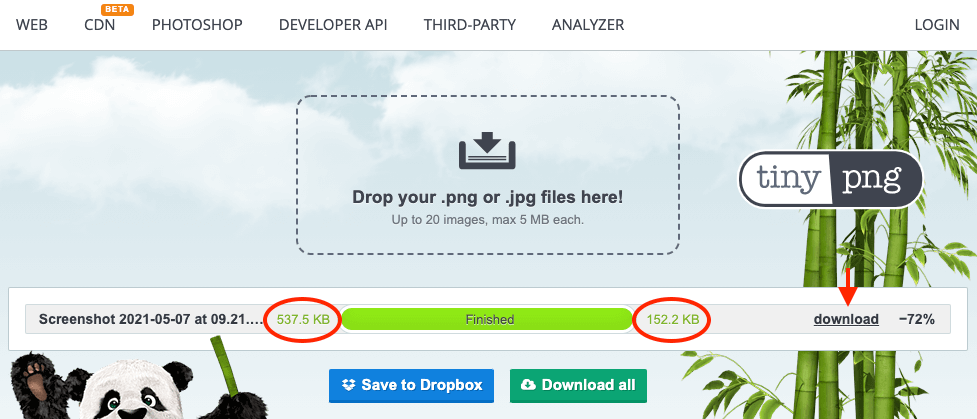
- The image above was reduced from 537kB to 152kB.
The recommended image size should be a max of 150kB but aim for 50kB or less. Just make sure that the quality of the image is still good.
There are other free websites you can use to resize your image, tinyPNG is one of the easiest to use.
Experiment with different image dimensions to find a good compromise between image quality and file size. You should be able to find a balance that keeps your website looking great and loading lightning fast!