Sitewide changes are done inside what WordPress calls “the Customizer“.
The customizer will help you change everything that will appear on more than one page on the website. Any kind of design or function that isn’t specific to a single page will be changed using the customizer.
For example
- the website header (sometime called the nav bar). This is the top section of the site that contains the logo and menu.
- the website footer
- the colors and fonts the site uses
- general settings like how big the fonts are, etc.
There are two ways to get to the customizer:
- If you’re on any page of the website itself (not inside the WordPress dashboard) you can simply click the customize button:

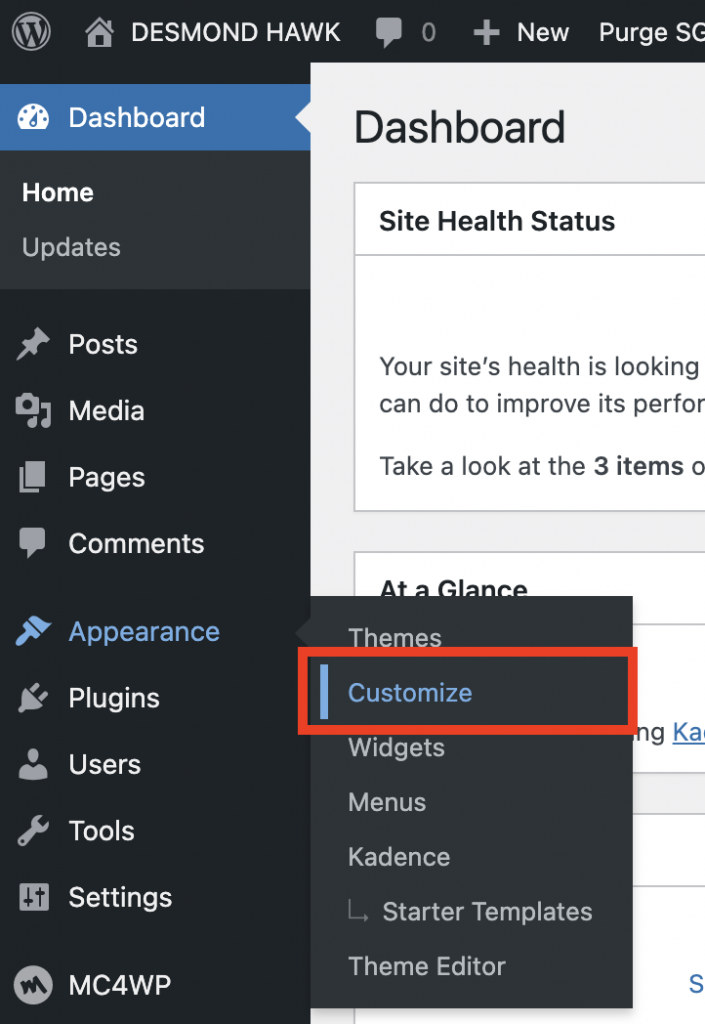
- If you’re in the WordPress dashboard you can get there by hovering over “Appearance” and clicking “Customize”:
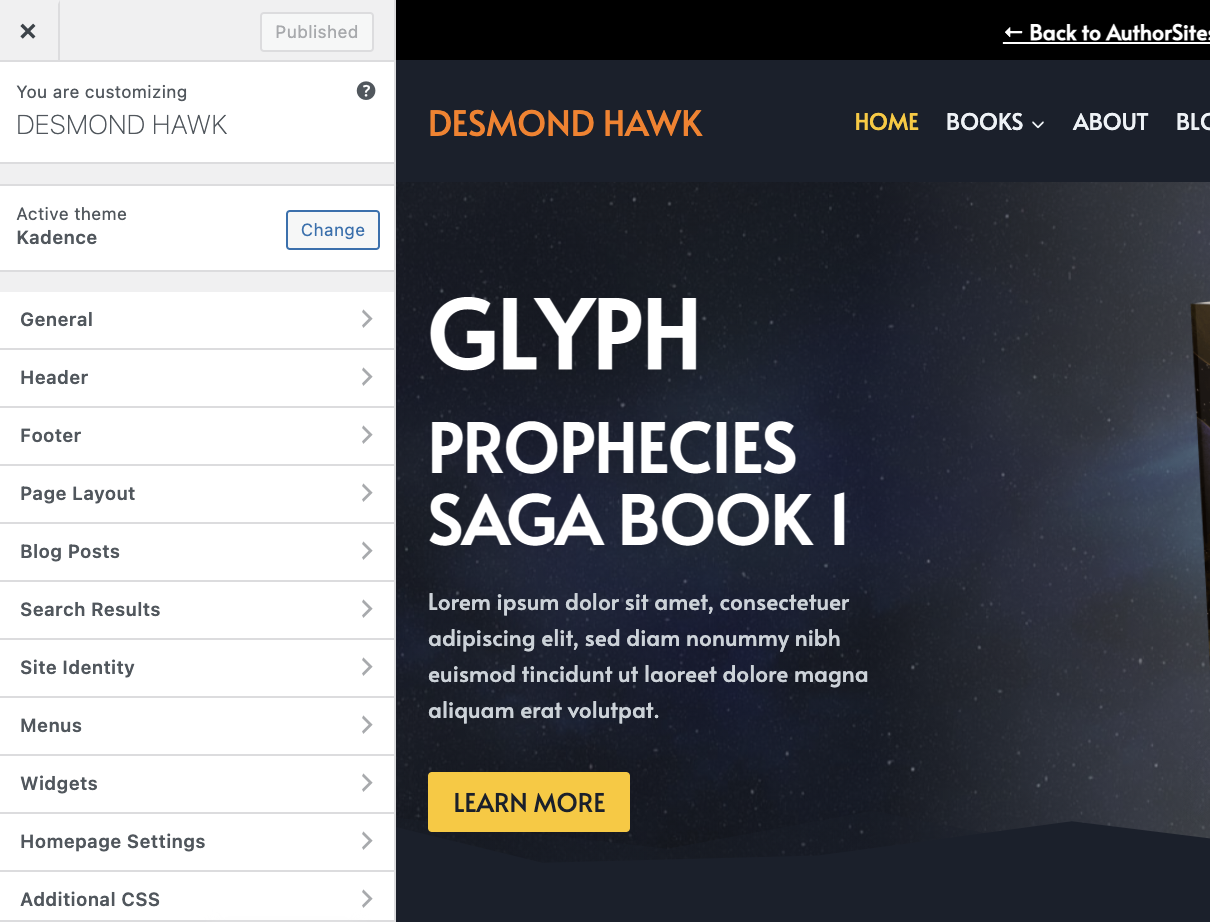
The customizer will give you a left-side menu of all the things you can change sitewide on your site. Don’t worry! Most of them have already been set correctly for you. You’ll only have to change a few of them.
Once you’re in the customizer, its menu looks like this:
Action step: Go into the customizer in your website now
General
To change the color scheme of the website, go to General > Colors.
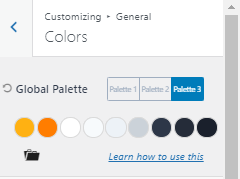
- Choose a colour palette to use throughout your website, this will be adjusted on all the website pages.
* For more colour inspiration you can get inspired on mycolor.space.
To change the typography of the website, go to General >> Typography.
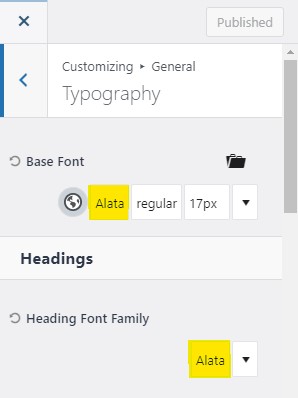
- The base font is the paragraph text and small text that will be used through out the website, try to keep this font simple.
- The heading font family will be used for your headings on the different pages.
To add social network links that you use, go to General >> Social Links.
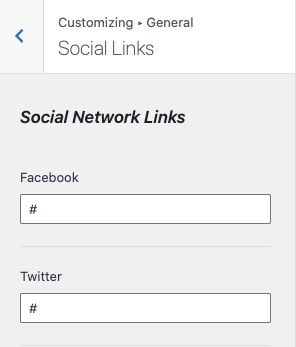
- Under your preferred social networks add the link to your social media page.
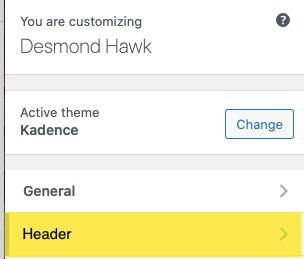
Header
Make adjustments to the appearance of this title and logo on the header.

Change the Site Identity by going to Header >> Logo.
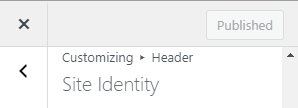
- Edit Author name (Site title).
- Add logo if desired.
NB! Exit the Kandence customizer to start editing the home page.
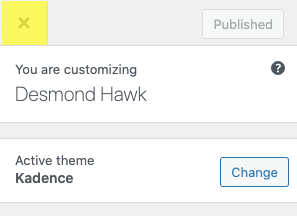
- Click the “X” to exit.
Navigation
To customize your top header, click on customize, to open the Kadence tools bar on the left.

- Click on the Header option.
- This will open the general header customization, you will be able to edit the order of how things appear on the header.

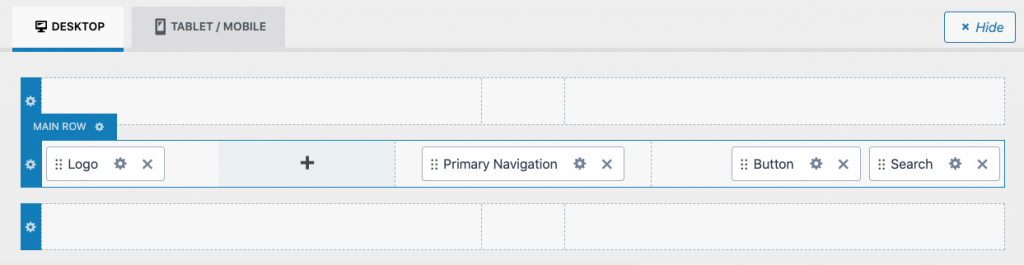
- You adjust the top header sections to get the desired order i.e. you can have the logo in the middle and have the primary navigation on your top left.
- You can add/or remove top header sections.
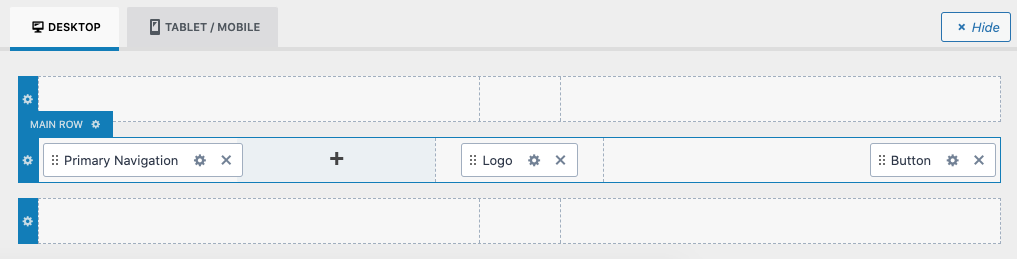
After rearranging the top header this is an example of how it would appear.

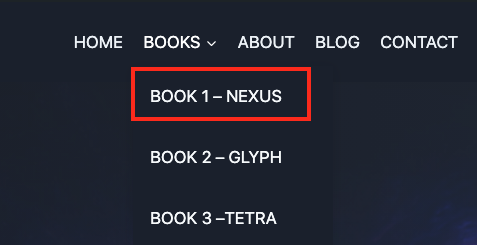
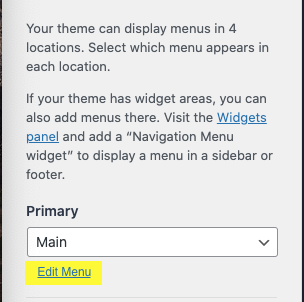
How to make changes to the primary navigation bar below:

- From the Kadence Customizing toolbar on your left, click on the header button. And, this is what you should see:
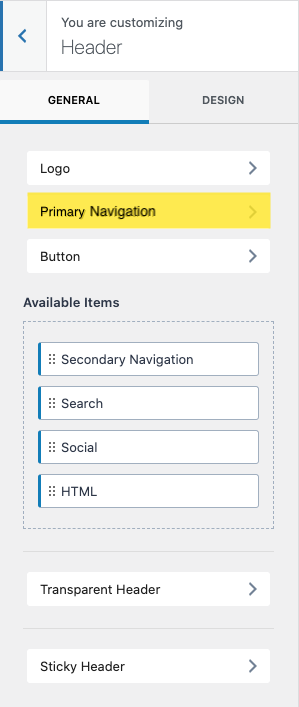
Click on Primary Navigation >> Select Menu >> Edit Menu.
This is what will appear after selecting “Edit Menu”.
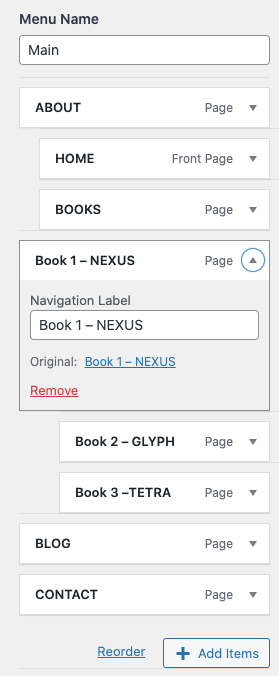
- The order can be rearranged.
- The text of the drop-down menu can be changed. The text can be changed in the “Navigation Label”.